Before we begin, the same tip as always – set your stall out,
get all your ingredients ready – if you're organised it'll be fun :
Step
1 :
Pat the chicken dry with kitchen roll. Place a sheet of cling
film on your board. You can place the chicken breast whole and cut
afterwards or cut into small nugget sized pieces before you begin
bashing – bear in mind that the chicken is to be flattened and will
therefore be larger than the cut piece. Try and keep the nuggets a
similar size. Arrange on the cling film making sure you leave
sufficient space between the nuggets. Cover with another sheet of
cling film and bash with a kitchen mallet (or rolling pin) to
flatten. Set aside.
Step
2 :
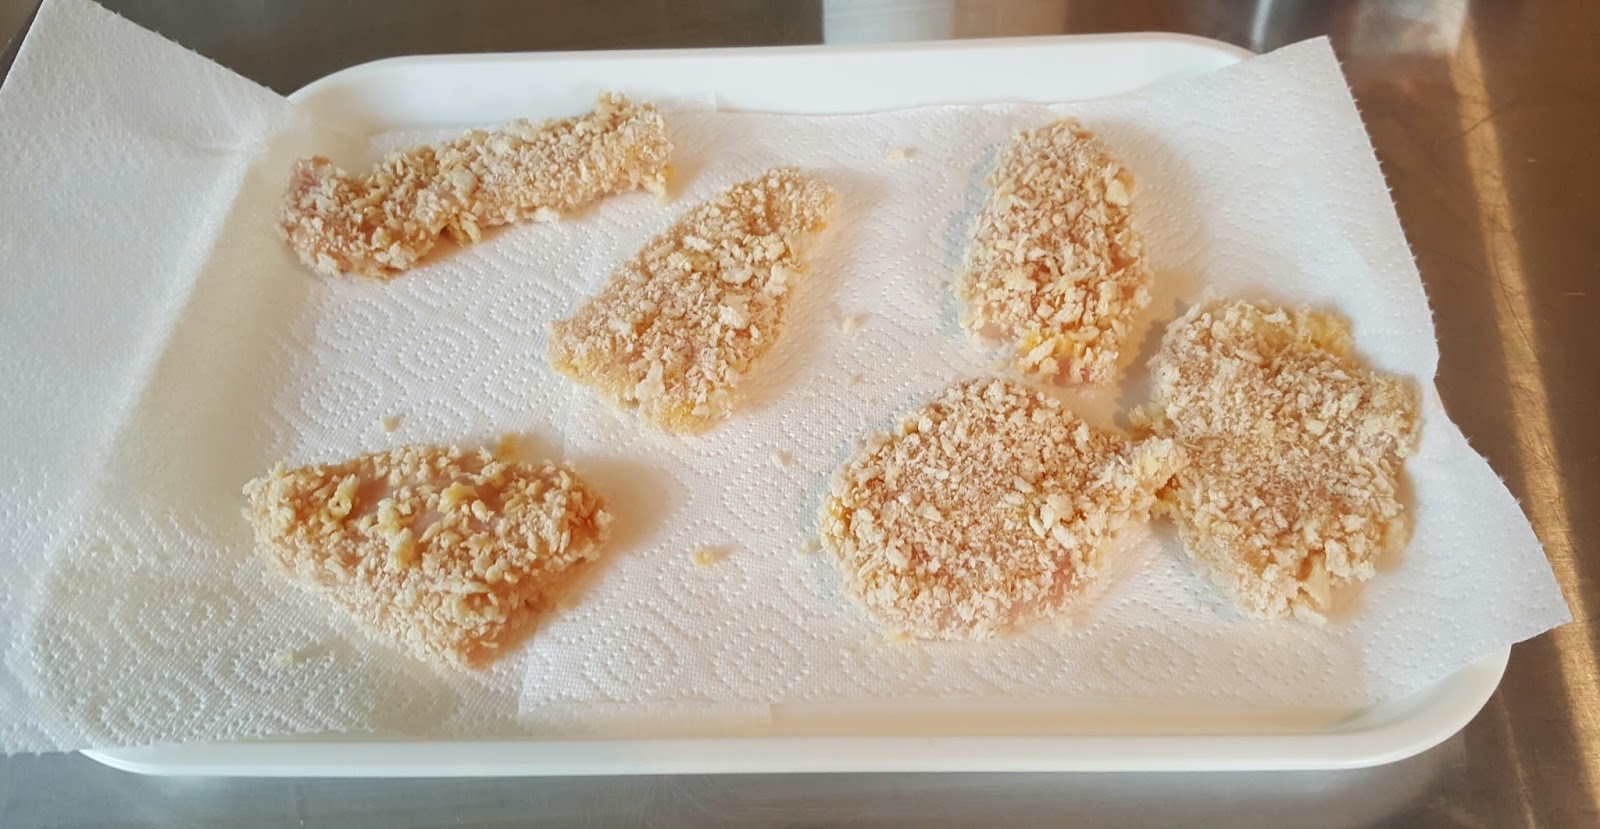
Place the flour, egg and breadcrumbs in the foil trays.
Step
3 :
A tip before you begin – make sure you have a baking tray
lined with kitchen roll ready to receive your breaded nuggets.
Now for the production line and another tip - wear gloves!
Step
4 :
Coat each piece in flour, then coat in beaten egg and finally
in breadcrumbs.
If you are cooking the nuggets later, cover with more kitchen
roll and then double cling film and “fridge” until required.
When
ready to serve you have two options :
Pre-heat oven
180fan/200c/Gas 6.
Heat a glug of
rapeseed oil in a large frying pan on a moderate heat. If you wish
to check whether the oil is ready to use drop a breadcrumb into the
oil – if it sizzles and begins to colour you're ready to roll. Seal
the nuggets on both sides and transfer them to a baking sheet and
bake in the oven for 15 minutes or you can continue on the hob –
turn the heat down low and turn the nuggets frequently until cooked
through and golden brown. This will not take more than 15 minutes
since the chicken is bashed thinly. If you want to be certain take
one and cut it in half, it should be thoroughly cooked before
serving.
As
a guide you should get 4-6 nuggets per breast depending on how large
you want your nuggets – it's not an exact science.
Coming
up – other alternatives!